
- Home
- Tile Adhesive
- Bio Tile Adhesive
Bio Tile Adhesive
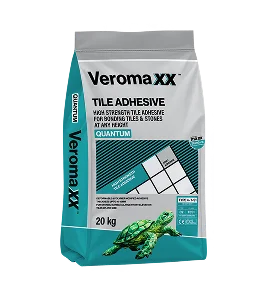
Veromaxx Bio is a polymer-modified cement-based tile adhesive engineered specifically for fixing ceramic tiles on indoor floors. Classified as Type 1 (C1) under IS 15477 and EN 12004, Bio delivers reliable bond strength, predictable pot life and clean application performance for everyday residential and light-commercial ceramic tile installation. When your project is standard ceramic tiles going down on an indoor floor — bathroom, kitchen, utility area, bedroom, hallway — Veromaxx Bio is the dependable, economical choice that gets the job done without over-specifying.
What is Veromaxx Tile Adhesive?
Veromaxx Bio is the entry-tier polymer-modified adhesive in the Veromaxx tile adhesive range. It is a Type 1 cement-based product formulated for the most common tile installation scenario in Indian residential construction: ceramic tiles laid on prepared cement or concrete substrates in indoor floor applications. The polymer modification lifts Bio well above traditional sand-cement mortar in bond strength and workability, while the Type 1 classification keeps the price point suitable for high-volume residential work.prepared cement or concrete substrates in indoor floor applications. The polymer modification lifts Bio well above traditional sand-cement mortar in bond strength and workability, while the Type 1 classification keeps the price point suitable for high-volume residential work.
Bio is the correct specification when three conditions are met: the tiles are ceramic (not vitrified, not porcelain, not stone), the application is indoor, and the surface is a floor.
Stronger Than Traditional Cement Mortar
For vitrified tiles, walls, exterior floors, or wet areas exposed to water, step up to Veromaxx Matrix (Type 1 T) or Alpha (Type 2 T) — see the Veromaxx tile adhesive range page for guidance.

Key Performance Benefits
Every bag of Veromaxx Bio delivers predictable bonding physics, designed to reduce contractor labor costs while guaranteeing long-term floor stability.
Polymer-modified cement-based formulation — Type 1 (C1) classification per IS 15477 / EN 12004
Optimised for ceramic tile installation on indoor floors
Thin-bed application from 5mm to 10mm depending on substrate condition
Consistent pot life for reliable batch-to-batch performance on site
Higher bond strength than traditional sand-cement mortar
20kg moisture-resistant HDPE-lined bag — pallet-friendly for bulk project supply
Manufactured under ISO-certified quality control at our North Indian facility
Benefits of Using Veromaxx Bio Tile Adhesive
- Economical Type 1 specification — right-sized for standard ceramic floor projects, no over-engineering cost
- Predictable setting time reduces on-site variability and speeds up handover
- Thin-bed application saves 20-30mm of floor build-up versus mortar methods
- Polymer-modified chemistry eliminates hollow-tile issues common with mortar fixing
- Consistent workability across the pot life — no mid-batch degradation
- Formulated for North Indian climate conditions — extended open time in summer heat, reliable set in winter
Where to Use
Recommended for indoor ceramic floor installations across residential homes, builder floors, light commercial areas, and covered utility zones.
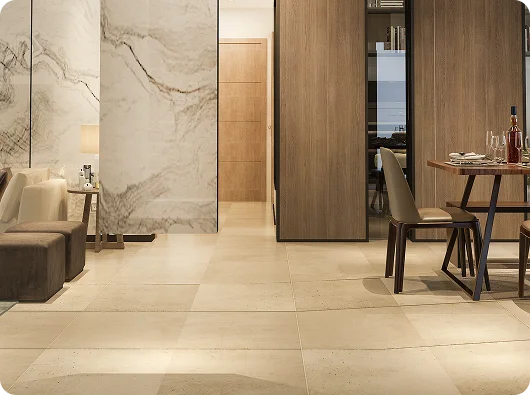
Residential floor tiling with standard ceramic tiles
Interior & exterior walls and floors — ceramic, vitrified, porcelain and stone tiles in homes, builder floors and commercial spaces.
Best For tags
- Vitrified & Porcelain Tiles
- Kitchens & Bathrooms
- Residential & Builder Floors
- Showrooms & Commercial
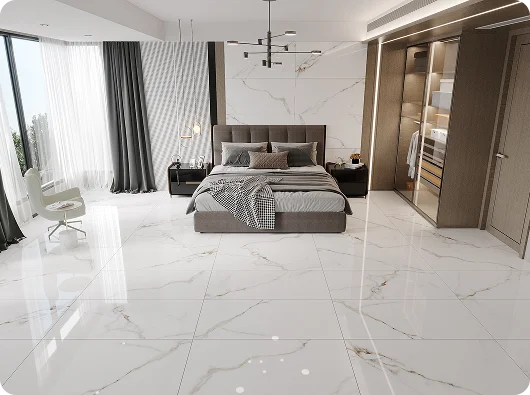
Bedroom, living room and hallway floor installations
Engineered for porous and semi-porous ceramic floor tiles in standard indoor spaces.│
BEST FOR
- Standard Ceramic
- Indoor Floors
- Residentials projects

Bathroom floor tiling (walls need Matrix or higher)
Engineered for porous and semi-porous ceramic floor tiles in standard indoor spaces.│
BEST FOR
- Standard Ceramic
- Indoor Floors
- Residentials projects
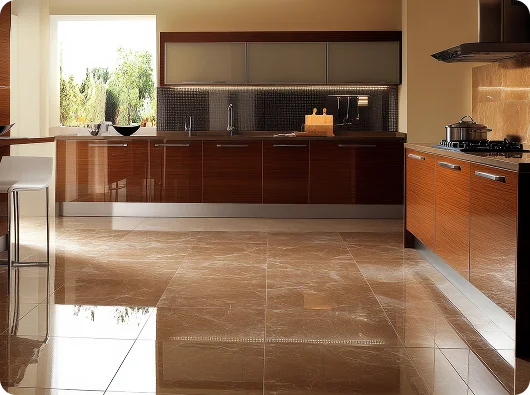
Kitchen floor tiling in residential settings
Engineered for porous and semi-porous ceramic floor tiles in standard indoor spaces.│
BEST FOR
- Standard Ceramic
- Indoor Floors
- Residentials projects
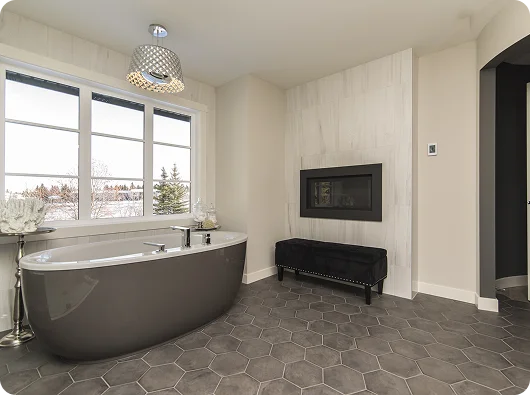
Utility area and store room floors
Engineered for porous and semi-porous ceramic floor tiles in standard indoor spaces.│
BEST FOR
- Standard Ceramic
- Indoor Floors
- Residentials projects
Light-commercial indoor floors with ceramic tiles
Engineered for porous and semi-porous ceramic floor tiles in standard indoor spaces.│
BEST FOR
- Standard Ceramic
- Indoor Floors
- Residentials projects
Suitable Substrates & Tile Materials for Bio
Suitable tile materials: absorbent ceramic tiles including standard glazed ceramic, terracotta, and quarry tiles. Not for use with vitrified, porcelain, glass mosaic, natural stone or any non-absorbent tile — the low bond strength of Type 1 adhesive is not adequate for these tile types.
Bio Tile Adhesive Technical Specifications
From interior residential luxury to demanding industrial facades, Veromaxx adhesives bond securely in every environment.
Product Code
Veromaxx Bio
Base
Polymer-modified cementitious powder
Classification
IS 15477 Type 1 / EN 12004 Class C1
Colour
Grey
Mixing ratio
Approximately 25-28% water by weight of powder
Pot life
3-4 hours at 27°C
Open time
20 minutes minimum
Adjustment time
15-20 minutes
Tensile bond strength (initial)
≥ 0.5 N/mm² (as per IS 15477 Type 1)
Coverage
4-5 kg per m² at 5mm bed thickness
Setting time (initial)
6-8 hours
Full cure
24 hours (light traffic), 72 hours (heavy load)
Application temperature
5°C to 40°C substrate temperature
Pack size
20 kg
Shelf life
6 months from manufacture in sealed original packaging
Standard compliance
IS 15477 Type 1, EN 12004 Class C1
How to Mix & Apply Veromaxx Bio
Follow this verified 4-step execution protocol to ensure a 100% void-free ceramic floor installation.
Prepare the substrate — the concrete or cement floor must be clean, sound, level, and free of dust, oil, curing compounds and loose material. Sweep and dampen the surface with clean water in hot weather to prevent premature adhesive dry-out.
Measure clean water into a clean bucket at 25-28% by weight of powder (approximately 5-5.5 litres per 20kg bag). Add the Veromaxx Bio powder gradually while mixing with a low-speed drill and paddle attachment.
Mix for 3-5 minutes until a smooth, lump-free, workable paste is achieved. Let the mix stand for 5 minutes to allow the polymers to activate, then re-mix briefly before use.
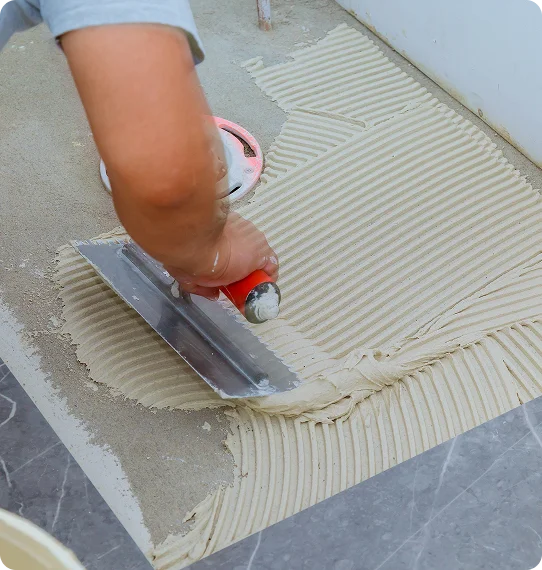
Apply the adhesive to the floor substrate using a 6mm notched trowel held at approximately 60° to create even ribs of adhesive. Cover only the area you can tile within the 20-minute open time (typically 1 square metre in summer heat).
Press each ceramic tile firmly into the adhesive bed with a slight twisting motion to collapse the ribs and achieve full contact with the tile back. Check back coverage on the first few tiles by lifting and inspecting — you want at least 80% coverage on the tile back.
Adjust tile position within the 15-20 minute adjustment time. Remove excess adhesive from tile faces and joints with a damp sponge before it sets. Do not grout the tiles for at least 24 hours after fixing.
Prepare the substrate — the concrete or cement floor must be clean, sound, level, and free of dust, oil, curing compounds and loose material. Sweep and dampen the surface with clean water in hot weather to prevent premature adhesive dry-out.
Measure clean water into a clean bucket at 25-28% by weight of powder (approximately 5-5.5 litres per 20kg bag). Add the Veromaxx Bio powder gradually while mixing with a low-speed drill and paddle attachment.
Mix for 3-5 minutes until a smooth, lump-free, workable paste is achieved. Let the mix stand for 5 minutes to allow the polymers to activate, then re-mix briefly before use.
Apply the adhesive to the floor substrate using a 6mm notched trowel held at approximately 60° to create even ribs of adhesive. Cover only the area you can tile within the 20-minute open time (typically 1 square metre in summer heat).
Press each ceramic tile firmly into the adhesive bed with a slight twisting motion to collapse the ribs and achieve full contact with the tile back. Check back coverage on the first few tiles by lifting and inspecting — you want at least 80% coverage on the tile back.
Adjust tile position within the 15-20 minute adjustment time. Remove excess adhesive from tile faces and joints with a damp sponge before it sets. Do not grout the tiles for at least 24 hours after fixing.
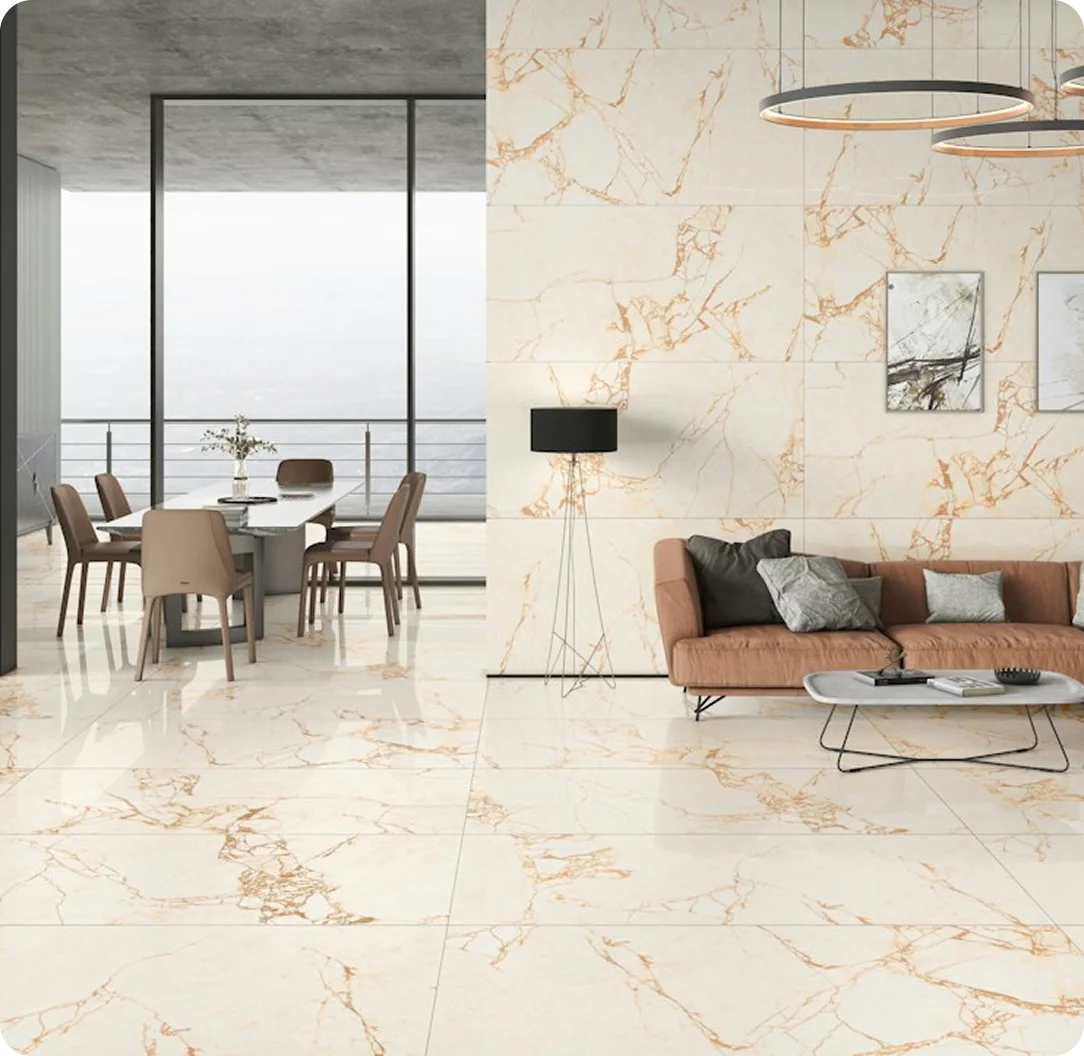
Bio Tile Adhesive Drying & Curing Time
How to Store Veromaxx Bio
Store Veromaxx Bio bags in a cool, dry, ventilated area away from direct sunlight, rain and floor moisture. Stack bags on wooden pallets, never directly on concrete or damp floors. Do not stack more than 10 bags high. Once a bag is opened, use the contents within the same working day for consistent performance. Sealed original packaging shelf life is 6 months from date of manufacture — check the batch date printed on each bag before use.
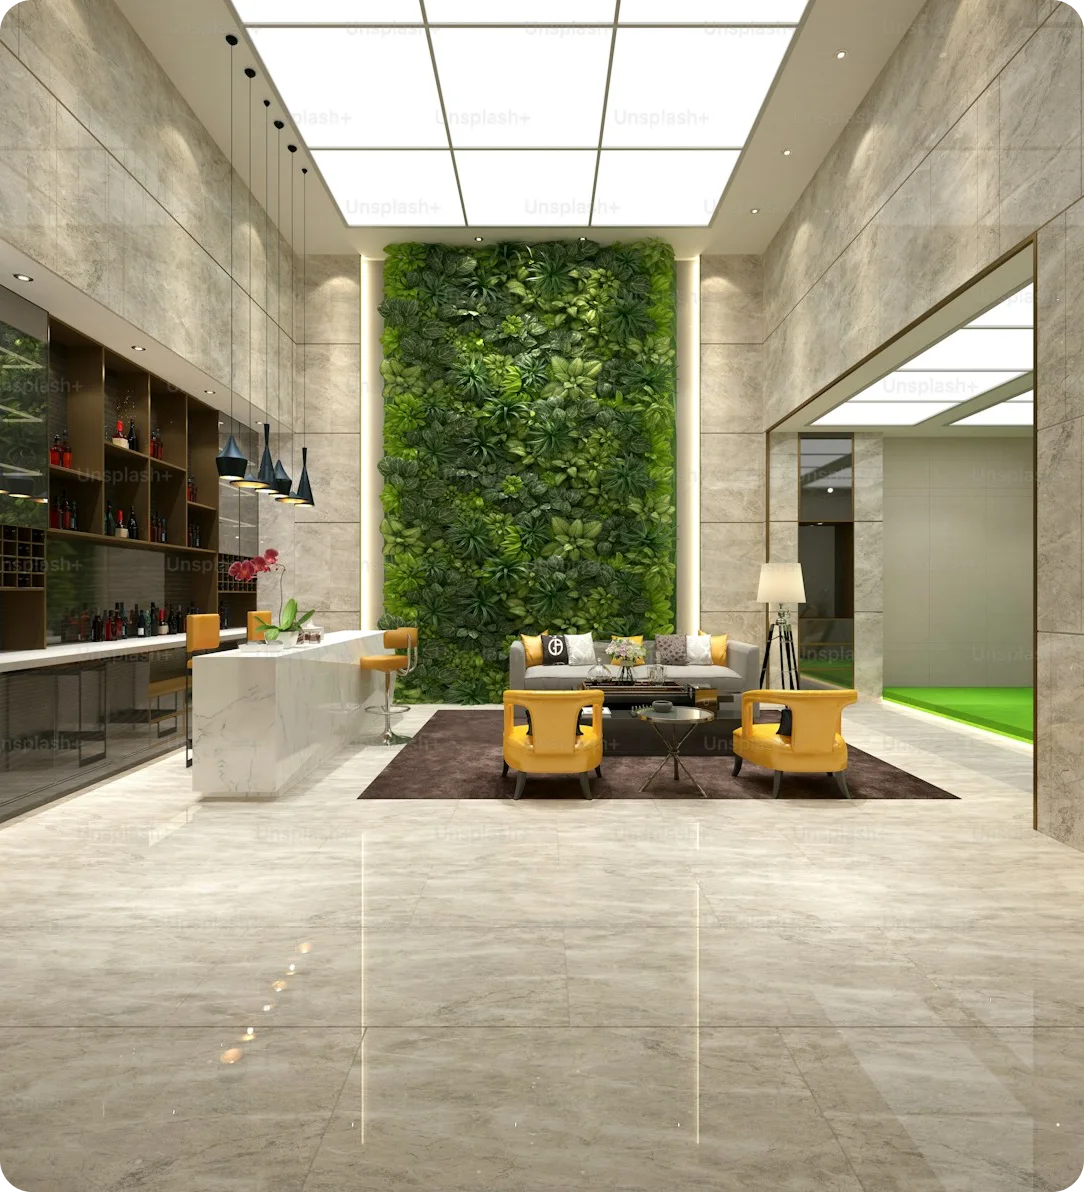
Why Choose Veromaxx Bio Tile Adhesive
Complete Solutions for Every Stage of Tiling
From fixing and jointing to cleaning and finishing, Veromaxx provides a complete range of construction chemical solutions.
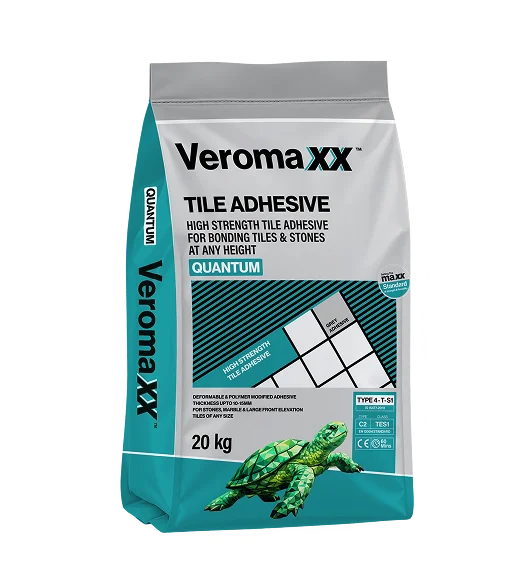
Tile Adhesive
High-bond solutions for ceramic, vitrified, porcelain and large-format tiles.
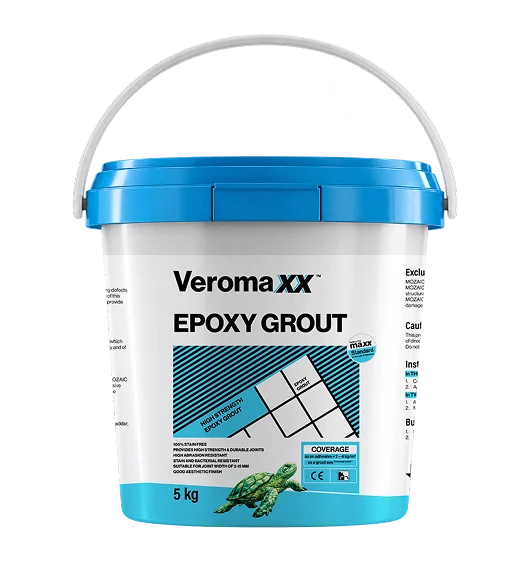
Grout
Reliable, waterproof jointing solutions for residential and commercial applications.
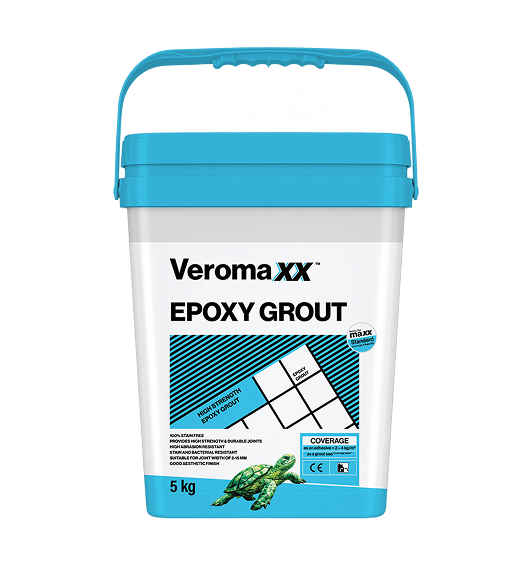
Epoxy Grout
Advanced chemical-resistant and stain-resistant protection for demanding environments.
Frequently Asked Questions
Find answers to all your questions about our products, and applications.
Can I use Veromaxx Bio for vitrified tiles?
No. Veromaxx Bio is a Type 1 (C1) adhesive rated for absorbent ceramic tiles only. Vitrified and porcelain tiles are non-porous and require a higher bond strength than Type 1 adhesive can provide. For vitrified tiles, use Veromaxx Matrix (Type 1 T, indoor) or Veromaxx Alpha (Type 2 T, indoor and outdoor).
Can I use Bio on bathroom walls?
Bio is rated for floor use only. For bathroom wall tiles – ceramic or vitrified – use Veromaxx Matrix or Alpha, which are wall-and-floor rated and offer better performance under the wet-dry cycling that bathroom walls face.
What is the coverage of one 20kg Bio bag?
One 20kg bag of Veromaxx Bio covers approximately 4-5 square metres at the recommended 5mm bed thickness with a 6mm notched trowel. Coverage decreases if the substrate is uneven and requires thicker bed application. Always add 10-15% waste allowance to project bag quantity calculations.
Is Veromaxx Bio suitable for outdoor use?
No. Bio is Type 1 (C1) rated and is not formulated for the thermal cycling, UV exposure and freeze-thaw stress that outdoor installations face. For outdoor tile installation, use Veromaxx Alpha (Type 2 T) or higher.
How long before I can grout after fixing tiles with Bio?
Do not grout for at least 24 hours after tile fixing with Veromaxx Bio. This allows the adhesive to develop enough initial strength to hold the tiles stable during the grouting process. Full mechanical strength develops over 72 hours.
What is the IS 15477 classification of Veromaxx Bio?
Veromaxx Bio is classified as Type 1 (Class C1) under IS 15477 and EN 12004 — the standard specification for polymer-modified cementitious adhesives for absorbent ceramic tiles on standard substrates.
Can I use Bio in the kitchen?
Yes for kitchen floors with ceramic tiles. For kitchen backsplash or wall tiles, use Veromaxx Matrix or Alpha. If the kitchen is exposed to high grease, chemicals or commercial use, step up to Alpha or Omega for improved performance.
What is the shelf life of Veromaxx Bio?
Six months from date of manufacture when stored in unopened original packaging in a cool, dry place. Check the batch date printed on each bag before use — cement-based adhesives lose performance with prolonged storage, particularly in humid conditions.